Showing posts with label kitchen. Show all posts
Nothing says fresh, like your own freshly dried herbs!
Use herbs for Tea, Cooking, Baking and soothing scents!

I have two herbs on my back step. Lemon Balm & Mint.

Lemon Balm
I wanted to trim back the herbs (besides the little I step out and pinch off while cooking) and use the herbs. But trimming back a lot would mean I'd be having to cook a feast to use it all. I decided I didn't have that many friends or the urge to cook a huge feast so why not dry them out for future use? Yep. That's what I learned how to do. (& It's so easy!)

First, Pick all the herbs you want to dry out
Sometimes there are some bad leaves in the bunch
Just set all those aside in a pile. We don't want to use bad leaves for tea/cooking
Wash all your herbs.
I used mini clothespins, that I already had, to hang the herbs on a ribbon to dry.
You can also look online at different ways to dry out herbs.
I wanted the most natural, instead of using a dehydrator or oven.
(You lose a lot of the oils in the leaves when using those methods.)
Voila! Let them dry out for a few days. They will feel dried out
and  crunch when they are ready to be put into an airtight container!

After a few days...

Make sure your container to keep your herbs is clean and completely dry.
You can get these small jar's that have a rubber seal
for $1 at a craft store like Joanns. 

Start taking down your herbs and pull off the leaves from the stem.
Place inside your container :)


Lemon Balm Herb
I inherited this little glass serving dish from the woman who lived here before us :)
Lemon Balm is sitting next to my Organic Cinnamon Sugar
I was anxious to taste it so I went ahead and brewed a fresh cup of tea!

Boiled some water in my kettle
Poured hot water in cup
Added just 3 leaves
Let it steep for 3-5 minutes
(depending on the strength you want)
 
Remove leaves..
Enjoy a perfect cup of tea!


Our cabinets have zero doors and open space :)


I did the exact same thing that I did with the other kitchen cabinet 


Here's a little rundown...


Took cabinet doors off. That hinge will not budge so please ignore it for now ;)

All this had to be peeled off..

Painted all the shelves white! 
This cabinet had lots of hole underneath the sticky paper...don't know why?
I sanded everything down for a smooth painting
I like to make painting a little fun ;)
before

after the first coat it already looks waay better!
The white makes the kitchen look and feel so clean!
I am planning (eventually) to get awesome clear glass canisters
to hold our few items that are stored in our cabinet.
They will hold: Cereal, Oats, Graham Crackers, Chips, etc.

on the left counter: no-bake cookies ;) perfect saturday treat!
The room feels so much bigger by taking off the doors! LOVE it!

I'm thinking of some like this...


And when I was looking for the glass canisters I came across these..

I think this would be so cute for all your spices. You could use small 
labels to write the name of the spice on the outside. 
Then you can have your spices on display and for easy use!

I have this small shelf that would be perfect for 12-16 spices in cute jars...Hmm..

What have you done to make your kitchen feel/look bigger?
Do you have your spices cutely arranged? :)

Now for the Before & Progress Look!

Before
Progress


I have this huge blank wall that just screams at me for something to be hung on it. 

See..


I really would love to put a white shelf or two
above the dishwasher...eventually! :)

For now (cause I like Free Projects) I grabbed two 8x10 frames that were not in use and painted them white (of course!) and snipped 2 pages from my Better Homes and Garden magazines. I used those magazine article clippings for my "Art"!
They turned out like this:


*Sigh* 
L-O-V-E them! :)
Plus, it gives me inspiration while making dinner!

Because I have cheap frames..they tend to have a crack look here and there.
See the little black line on the bottom?
I tackled it with just some hole filler! Works like a charm!
I had to do several parts of the frame to make it look "flush" with the side

It's a start..
Can't wait to make that chalkboard! :)
Have you ever made art for your frames out of magazine articles? Or have you cut out multiple small pictures and made a collage inside a frame? Post pictures of what you are doing or what you have done at Facebook.com/OurHouseProjects :) See you there!


Yes I turned our cabinets into a open show off area :)
Like I showed you yesterday, I want to open up the kitchen to look more modern and to give a clean, spacious appearance.

I got inspired by this photo at BHG.com

I love that it can show off cute dishes and bowls..Even wine glasses!
You can hide stuff in cute baskets and set out recipe books for decor :)

Our Kitchen is really, really neutral right now..


I want to add a splash of color into the decor to give it a 
"I-want-to-be-in-here-and-cook" kind of look :)

However it still is a big improvement to the way it was..


Haha too green for me ;)

So today I started by taking down the two top end cabinets..
(I might do the other side of the sink too..but I want to test it over here first! Sometimes doing too much can ruin the effect!)


Unscrewing all the cabinets...the screws were pretty stripped so we had to use a
good old fashion screwdriver!

And next I took out the dishes and started to peel out all the shelf liner...


flowers anyone?
Then I took off the rest of the hardware...


Before painting, I had to lightly sand and fill the holes with hole filler
Before
I unscrewed the hooks from the shelves and pulled the shelves out.
Wiped everything down with a damp paper towel to make sure that the paint adhered well.
 
The painting begins! I would suggest a primer but I didn't want to spend any money
on this project so I ended up using 3 coats of paint ;)
first coat of paint..
2 coats...
3 coats of paint!

After!
Roxy and Rolie's Treats :)
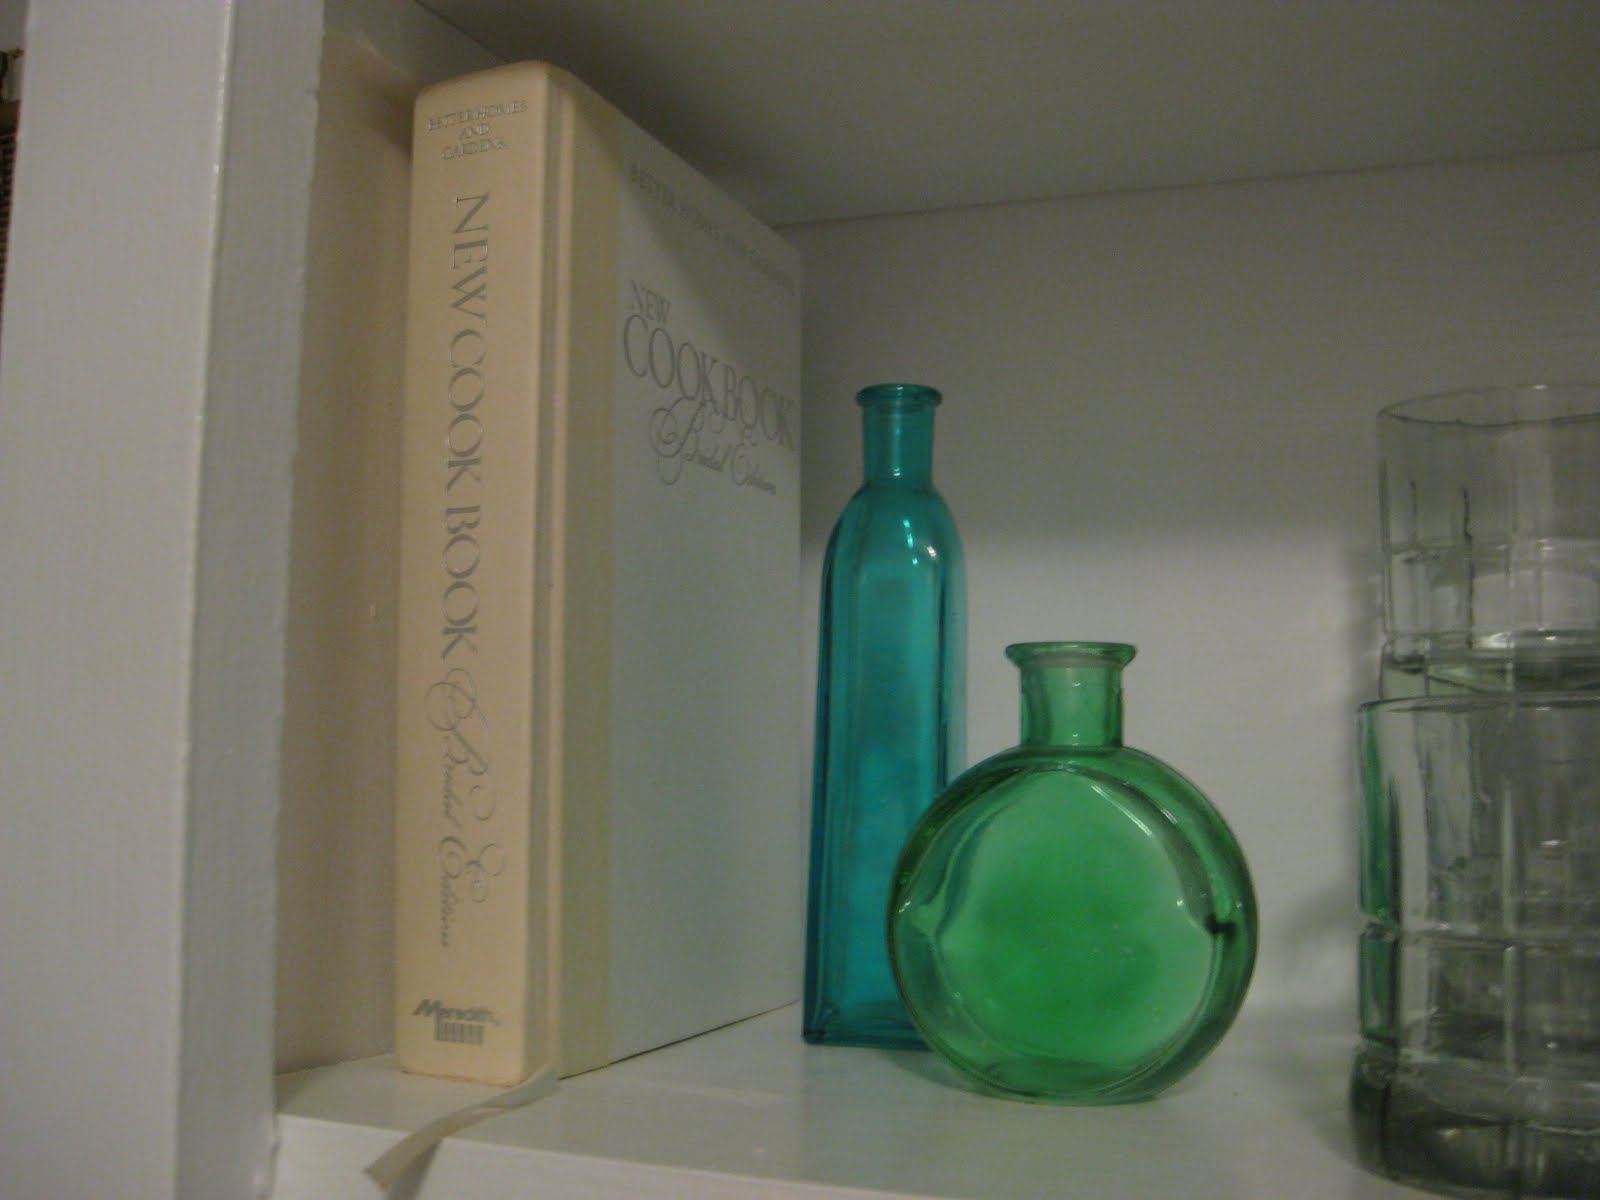
Cookbook and Vases


I'm planning on doing the other side too!
The kitchen looks bigger since you can see the back of the cabinet!

In just a few hours our kitchen went from...


To this...


Have you ever wanted to bring decor into your kitchen and make it feel spacious?
Try removing your cabinet doors or trade them for framed glass cabinet doors!


Budget Breakdown:

Paint: Free!
Paintbrush-Already had!
Time: 6 hours. (Had to dry between coats and it was humid!)
Hole Filler-$3.50
Sandpaper-Already had!

Total Cost: $3.50 :) 


Powered by Blogger.

We LOVE our followers!